
How to Make a Photovoltaic Solar Panel
Introduction
Photovoltaic solar panels are a great way to generate clean and renewable energy. By harnessing the power of the sun, these panels can provide electricity for homes, businesses, and even entire communities. In this article, we will discuss how to make a photovoltaic solar panel, step by step.Materials Needed
1. Solar Cells
The first and most important component of a solar panel is the solar cells. These cells are responsible for converting sunlight into electricity. You will need to purchase enough solar cells to cover the surface area of the panel you wish to make.2. Conductive Adhesive
To connect the solar cells together, you will need a conductive adhesive. This adhesive will allow you to create a series connection between the cells, allowing them to work together to produce electricity.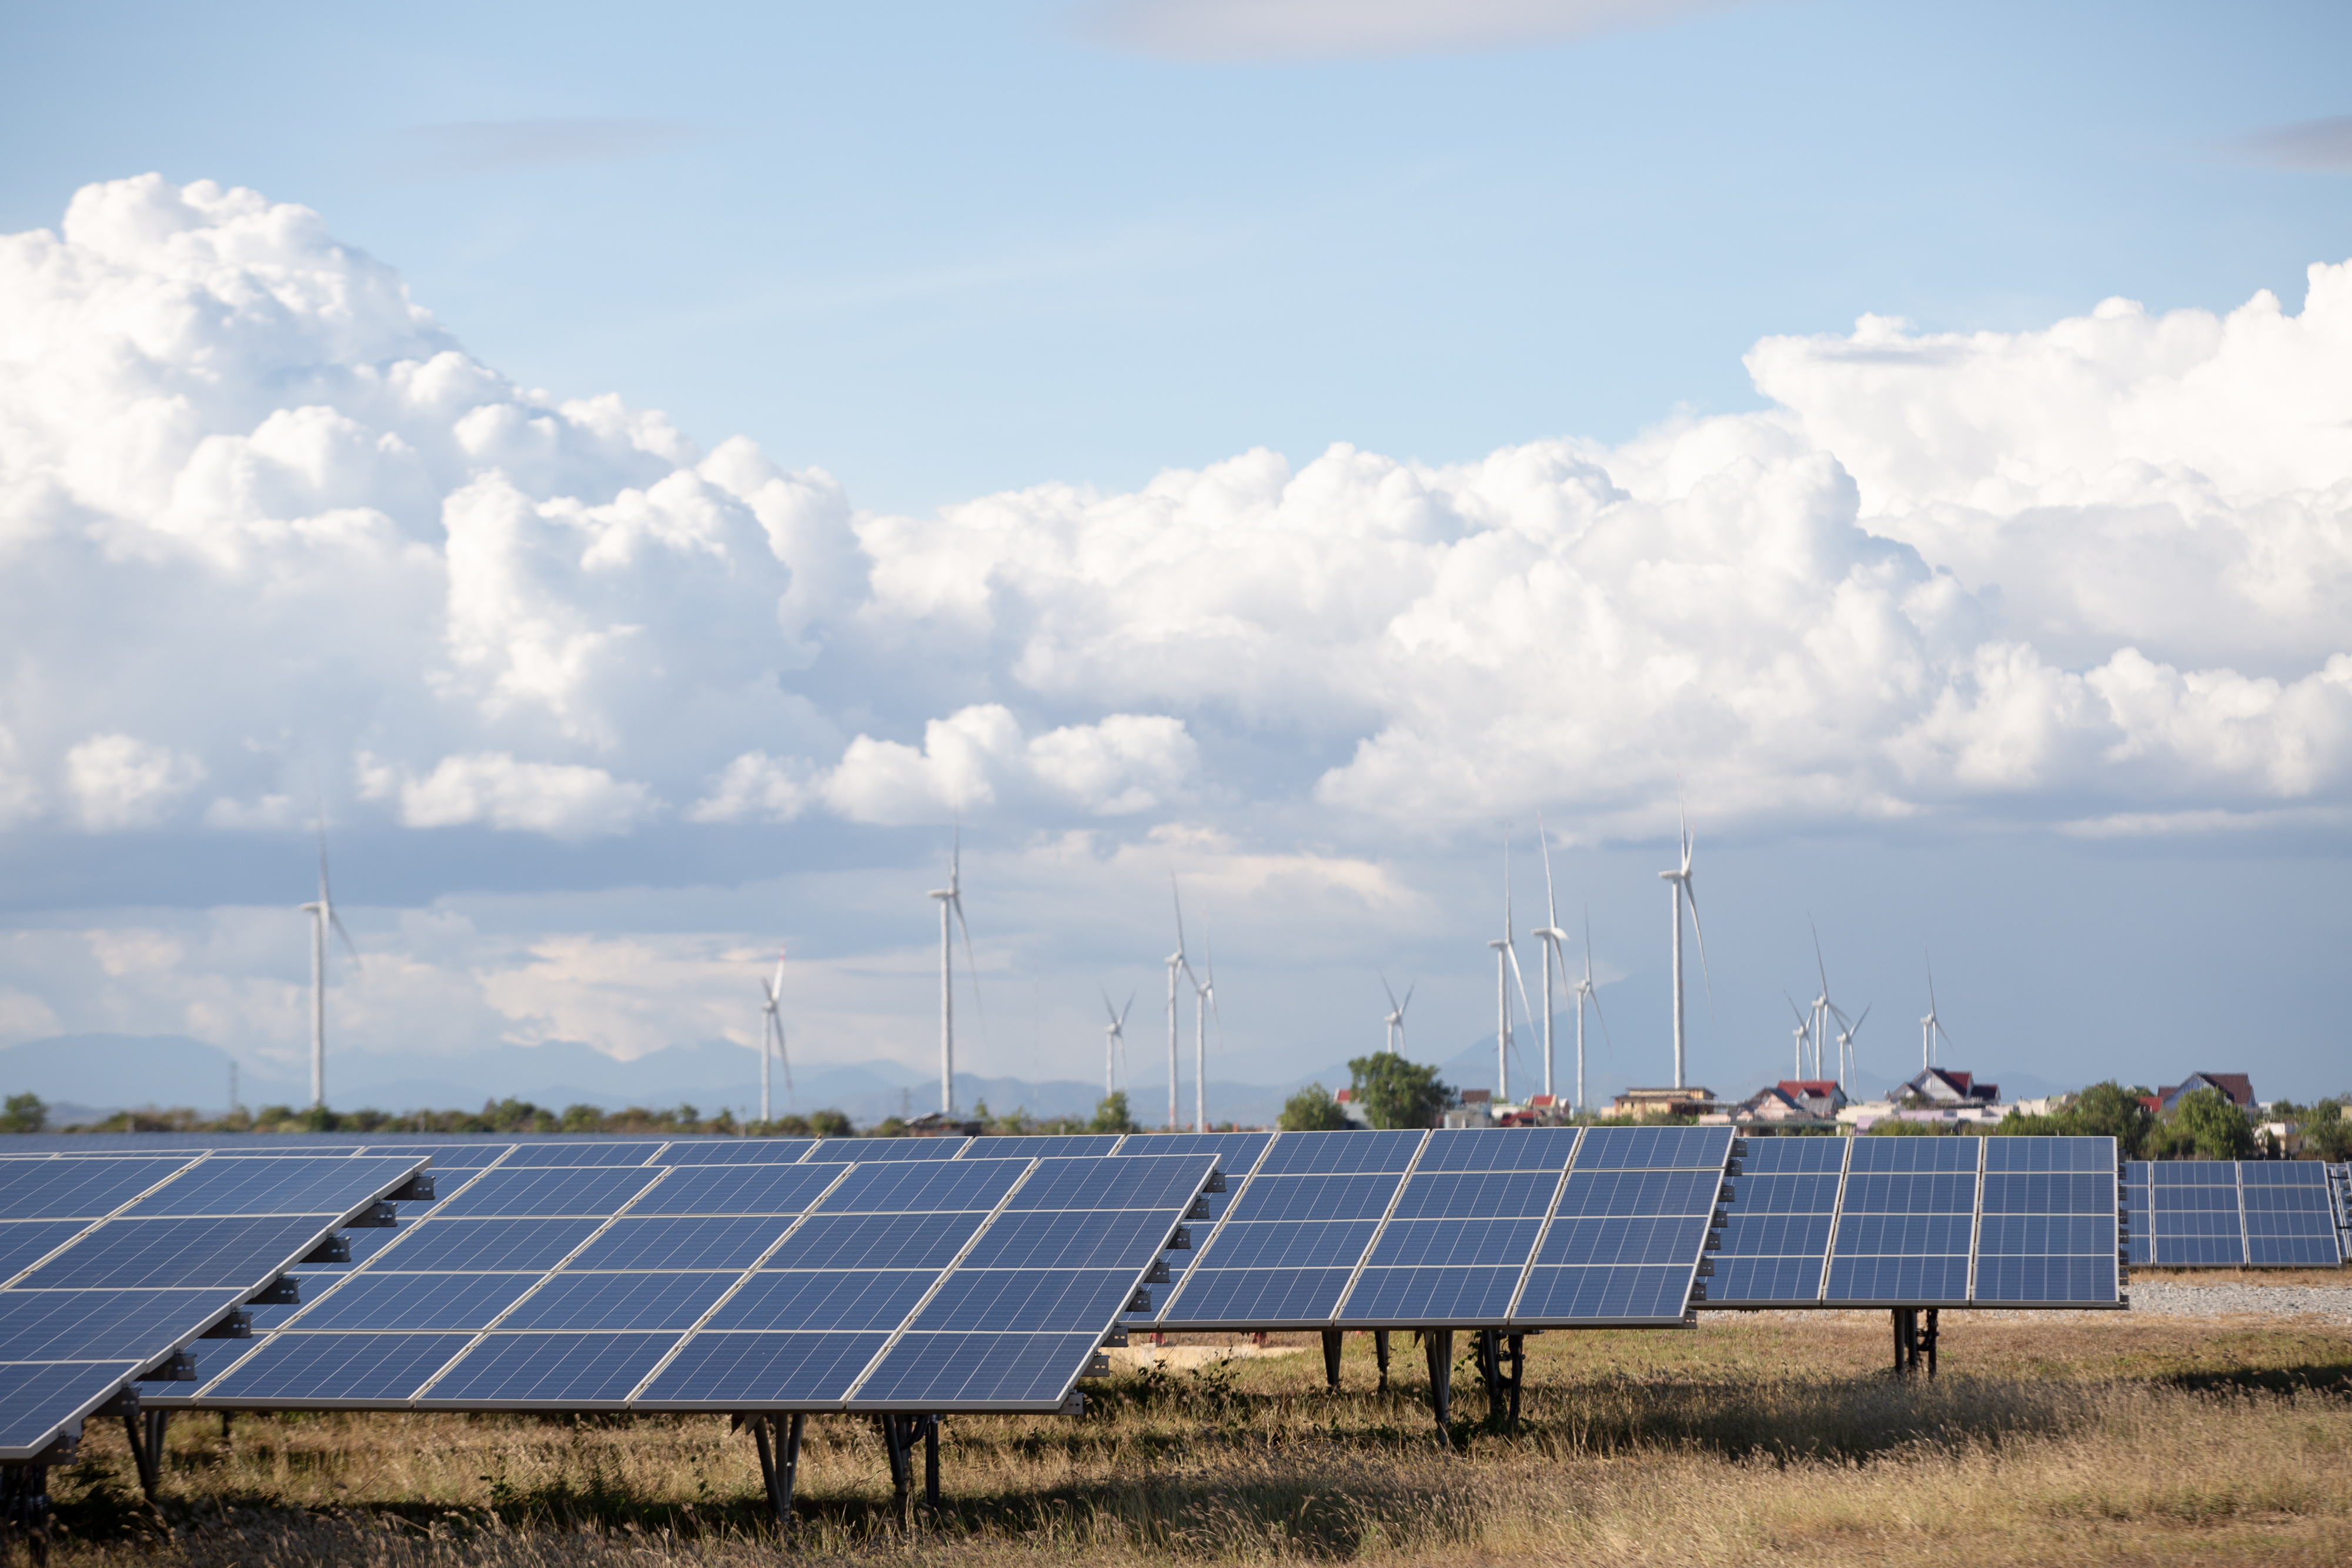
3. Backing Material
The backing material is used to provide support for the solar cells and protect them from external elements. Common materials used for this purpose include plywood, tempered glass, or fiberglass.4. Bus Wire
Bus wire is used to connect the solar cells in a series connection, allowing the electricity to flow from one cell to the next.5. Frame Material
The frame material provides structural support for the solar panel and holds everything together. Aluminum is a popular choice for frame material due to its lightweight and durable nature.Step by Step Guide
1. Prepare the Solar Cells
Start by arranging the solar cells on the backing material in the desired configuration. Use the conductive adhesive to connect the cells in a series connection.2. Connect the Bus Wire
Once the solar cells are arranged and connected, use the bus wire to create a series connection between them. This will allow the electricity to flow from one cell to the next.3. Attach the Frame
Secure the solar cells and backing material to the frame using screws or adhesive. This will provide structural support and protect the cells from damage.4. Test the Panel
Before installing the solar panel, it is important to test its functionality. Use a multimeter to check the voltage and current output of the panel to ensure it is in working order.5. Install the Panel
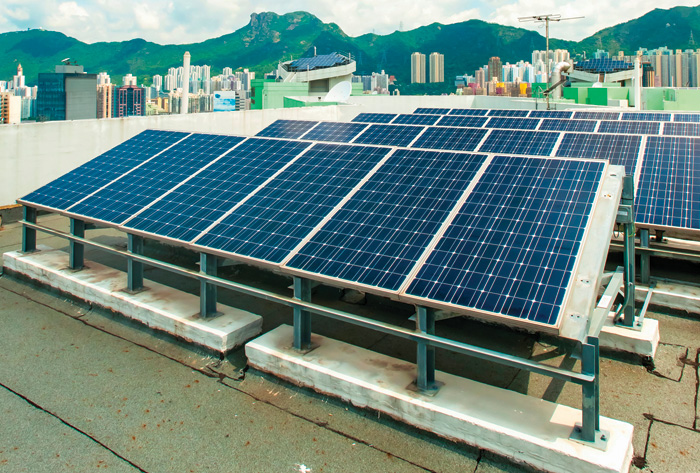
Once the panel has been tested and confirmed to be working, it can be installed in a location with ample sunlight. This could be on the roof of a building, in a field, or on a solar panel stand.In conclusion, making a photovoltaic solar panel requires careful planning, the right materials, and attention to detail. By following the steps outlined in this article, you can create your own solar panel and begin generating clean and renewable energy.
